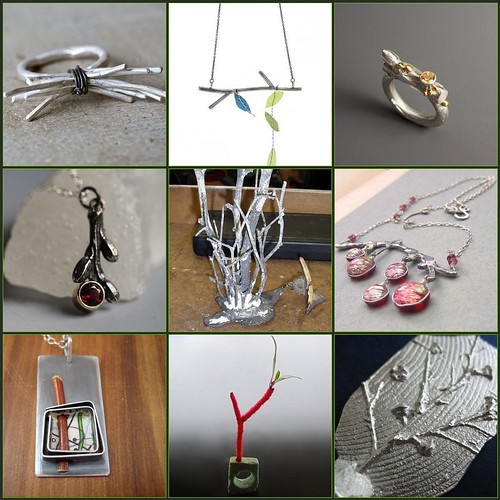
This weekend I'm teaching a class at the Visual Arts Center in Richmond. I'll show my students how to use a silicone mold material to make replicas of twigs and leaves.
These are all such beautiful examples of how natures jewels make the best models. Have a great weekend!
Friday, November 30, 2012
Friday, November 23, 2012
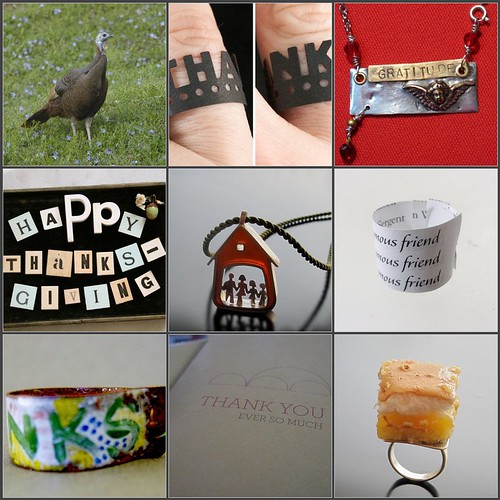
Weekend Eye Candy - Thanksgiving 2012 Edition
Weekend Eye Candy - Thanksgiving 2012 Edition, a photo by lorahart on Flickr.
Thank you so much for your friendship, your readership, your support, and the honor of blogging for you.May you all survive the post Thanksgiving feast with health, enter the new year with joy, and celebrate your gifts every day.
Wednesday, November 14, 2012
Sneak Peek
 |
| "French" style earwires are soldered to the back of the focal in this basic example. |
With only two projects, this certification workshop will inspire artists to inject their own personality and creative voice into a pair of earrings and a pendant. The bonus is that the time allowed for each design will enable the student to work at a much more comfortable pace than in the past.
 |
| A more complex design may include multiple jump rings and post earring backs. |
First up (for me) - Burr set gemstone, pierced earrings with original textures. This project involved designing and creating an original texture sheet, setting faceted stones in unfired clay using a gem setting burr, and soldering. In addition you'll learn how to measure stones and roll clay to the corresponding thickness, use some traditional metal working tools, and perhaps work with a flexible shaft machine.
Tomorrow I'm going back into the studio to start on the twice fired, bezel set, cabochon pendant exemplars. We're hoping to roll out the new edition of the Level 2 program very early next year. I can't wait!
Monday, November 12, 2012
Studio V2.0
After settling in to my lovely new studio space, an opportunity arose in the same artist's co-op to move into new digs that would include use of a common teaching area. Of course I had to jump on it! I had almost finished setting up when it was time to tear it all apart again and re locate into two (of 7) smaller studios that are clustered around an 8 person work table. Actually the move wasn't all that horrendous. I piled the contents of a shelving unit onto a rolling cart, rolled said cart a few hundred feet to the new space, downloaded the supplies onto the common table, moved the shelving unit, re stocked the shelves, and repeated about 10 times until everything was re-situated.
Now I have a separate room for supplies and teaching equipment, and another for clay work and soldering. And I just love it. It feels so much cozier in the smaller unit, and I can just roll my chair around to move from station to station. This studio is very different from the one in my tiny apartment in LA. There I had to keep almost all of my tools and supplies in drawers because there wasn't enough room to spread them around and let them lay. And I didn't want my living space to look too messy. Here I have an entire 'bench' (Ikea table) to dedicate to sawing, soldering, and use of the Foredom. I get to keep my vise and bench pin clamped to the table, instead of putting them away after each use and never have to worry about tiny pumice stones jumping out of the lazy-susan pan and ending up in a kitty's tummy.
venting fan from Rio for when I'm soldering and I'll run the kiln as I leave for the day so the nastiness can dissipate during the night. 2. The common table is available to other folks, for instance the three lovely people who have been having an actual conference while I've been typing this, or the kids ceramic class that meets here 2 Saturdays a month. But I can schedule as many days with the table as I like and most of the time it's pretty quiet around here. And I'm right next to the cafe (nom nom)! I can deal with the tiny inconveniences for a set up like this.
 |
| Original space |
Now I have a separate room for supplies and teaching equipment, and another for clay work and soldering. And I just love it. It feels so much cozier in the smaller unit, and I can just roll my chair around to move from station to station. This studio is very different from the one in my tiny apartment in LA. There I had to keep almost all of my tools and supplies in drawers because there wasn't enough room to spread them around and let them lay. And I didn't want my living space to look too messy. Here I have an entire 'bench' (Ikea table) to dedicate to sawing, soldering, and use of the Foredom. I get to keep my vise and bench pin clamped to the table, instead of putting them away after each use and never have to worry about tiny pumice stones jumping out of the lazy-susan pan and ending up in a kitty's tummy.
venting fan from Rio for when I'm soldering and I'll run the kiln as I leave for the day so the nastiness can dissipate during the night. 2. The common table is available to other folks, for instance the three lovely people who have been having an actual conference while I've been typing this, or the kids ceramic class that meets here 2 Saturdays a month. But I can schedule as many days with the table as I like and most of the time it's pretty quiet around here. And I'm right next to the cafe (nom nom)! I can deal with the tiny inconveniences for a set up like this.
Friday, November 9, 2012
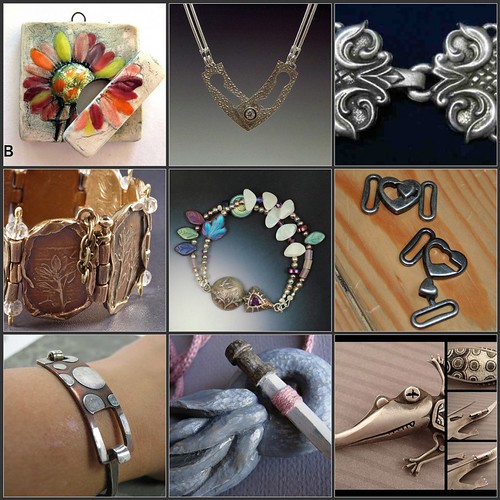
Weekend Eye Candy - Clasp Edition
I can't believe it's Friday already! All week I've been working on changing studios (yes, again); making samples for the new PMCC Level Two certification projects; and trying to keep warm. Hopefully there will be pictures and a post next week.
Have a good one y'all!
Friday, November 2, 2012
Subscribe to:
Comments (Atom)


